How to Accurately Generating Text Using Leonardo's ControlNet AI
- Matthew
- May 30, 2023
- 2 min read
Updated: Aug 9, 2024
Today we take a look a how to effectively generate text in Leonardo AI by utilizing ControlNet AI. This technique was originally detailed by Moderator Dimo in the tips-and-tricks section of the Leonardo.ai Discord server. Let's get started!
A Quick Step-by-Step
Step 1: Image Preparation
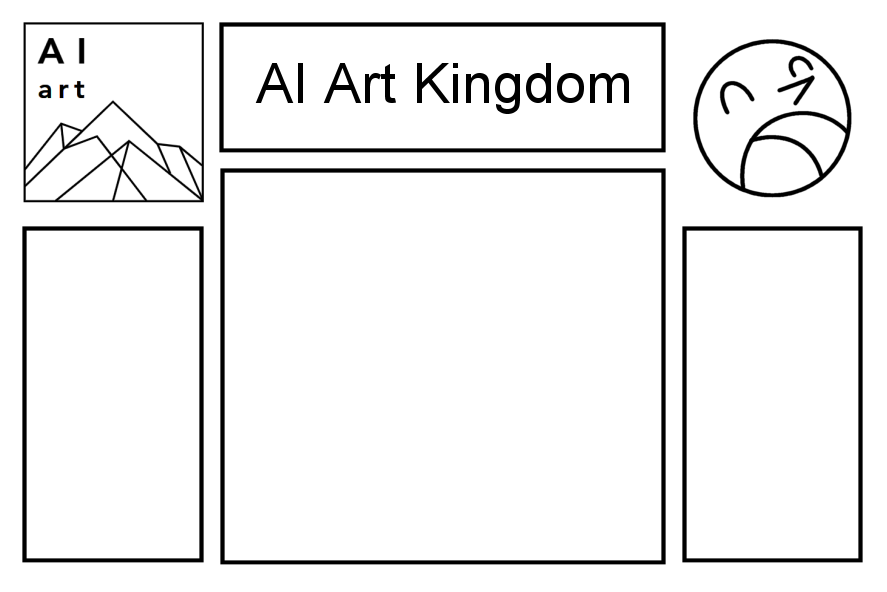
Ensure your text and sketch (if applicable) have clear lines and a high contrast. Opt for black letters/lines on a white background for best results. If using an image with pre-existing text, ensure it is large and contrasting to avoid unpredictable outcomes.

Step 2: Image to Image
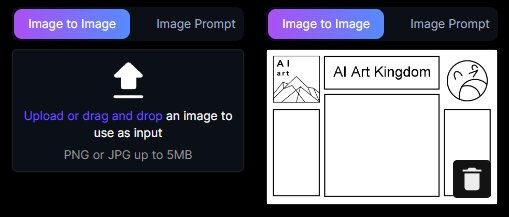
Add your prepared image to the designated field for Image to Image processing.

Step 3: Image Dimensions
Pay attention to the aspect ratio of the added image. Maintain the aspect ratio when adjusting dimensions to ensure correct stretching of the final image.

Step 4: Activate ControlNet AI
Enable ControlNet AI and select the Edge to Image option.

Step 5: Weight Value
Set the weight value between 0.7-0.9 to avoid an outline effect on objects and text. Feel free to experiment with different values to achieve your desired outcome.

Step 6: Prompt and Model
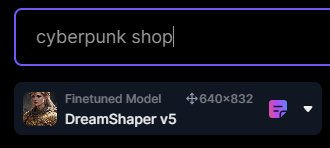
Choose a model and craft your prompt. It can be as detailed or concise as you like, allowing for creative freedom. Ignore the dimensions of the model image (refer to Step 3).

Step 7: Generate
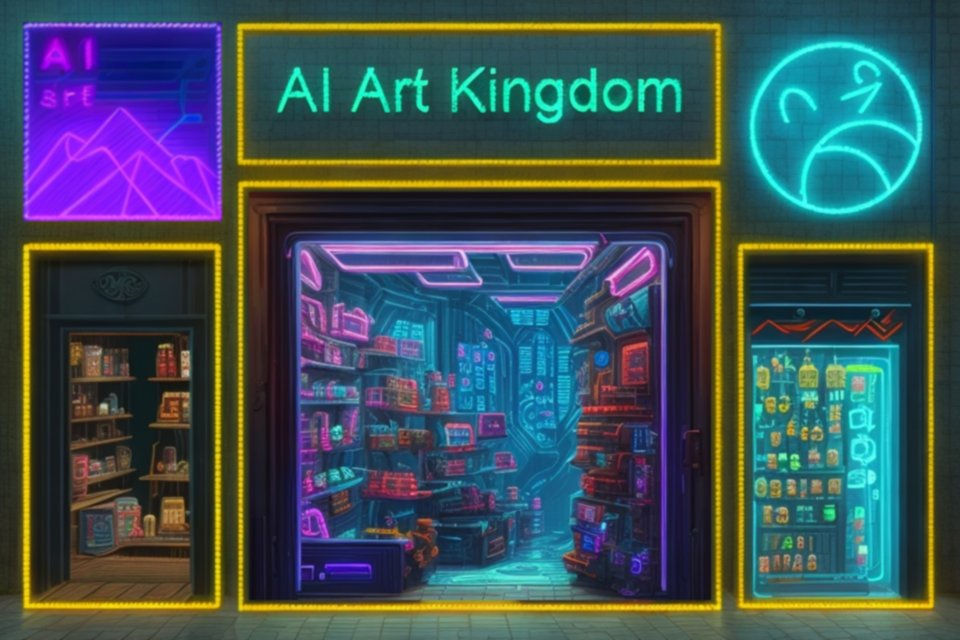
Click the Generate button to initiate the text generation process. Enjoy the results of your creative endeavor!

By following the step-by-step process outlined, you can effectively generate accurate text for your images that aligns with your vision. ControlNet AI empowers users to utilize Leonardo.ai as a free AI text generator further improving on the capabilities of this amazing platform.
If you'd like to know more you can head over to AIArtKingdom.com for a curated collection of today's most popular, most liked AI artwork from across the internet. Plus explore an extensive array of AI tools, complemented by comprehensive guides and reviews, on our AI blog.


